Every Marlboro homeowner knows the hassle when a trusted dishwasher stops working after a big family meal. Keeping your dishwasher in top shape matters because regular maintenance not only prevents unexpected breakdowns but also supports appliance longevity. With expert-backed tips like using citric-acid-based cleaners for monthly maintenance and safely cleaning filters and spray arms, you can enjoy reliable performance and less stress in your kitchen routine.
Table of Contents
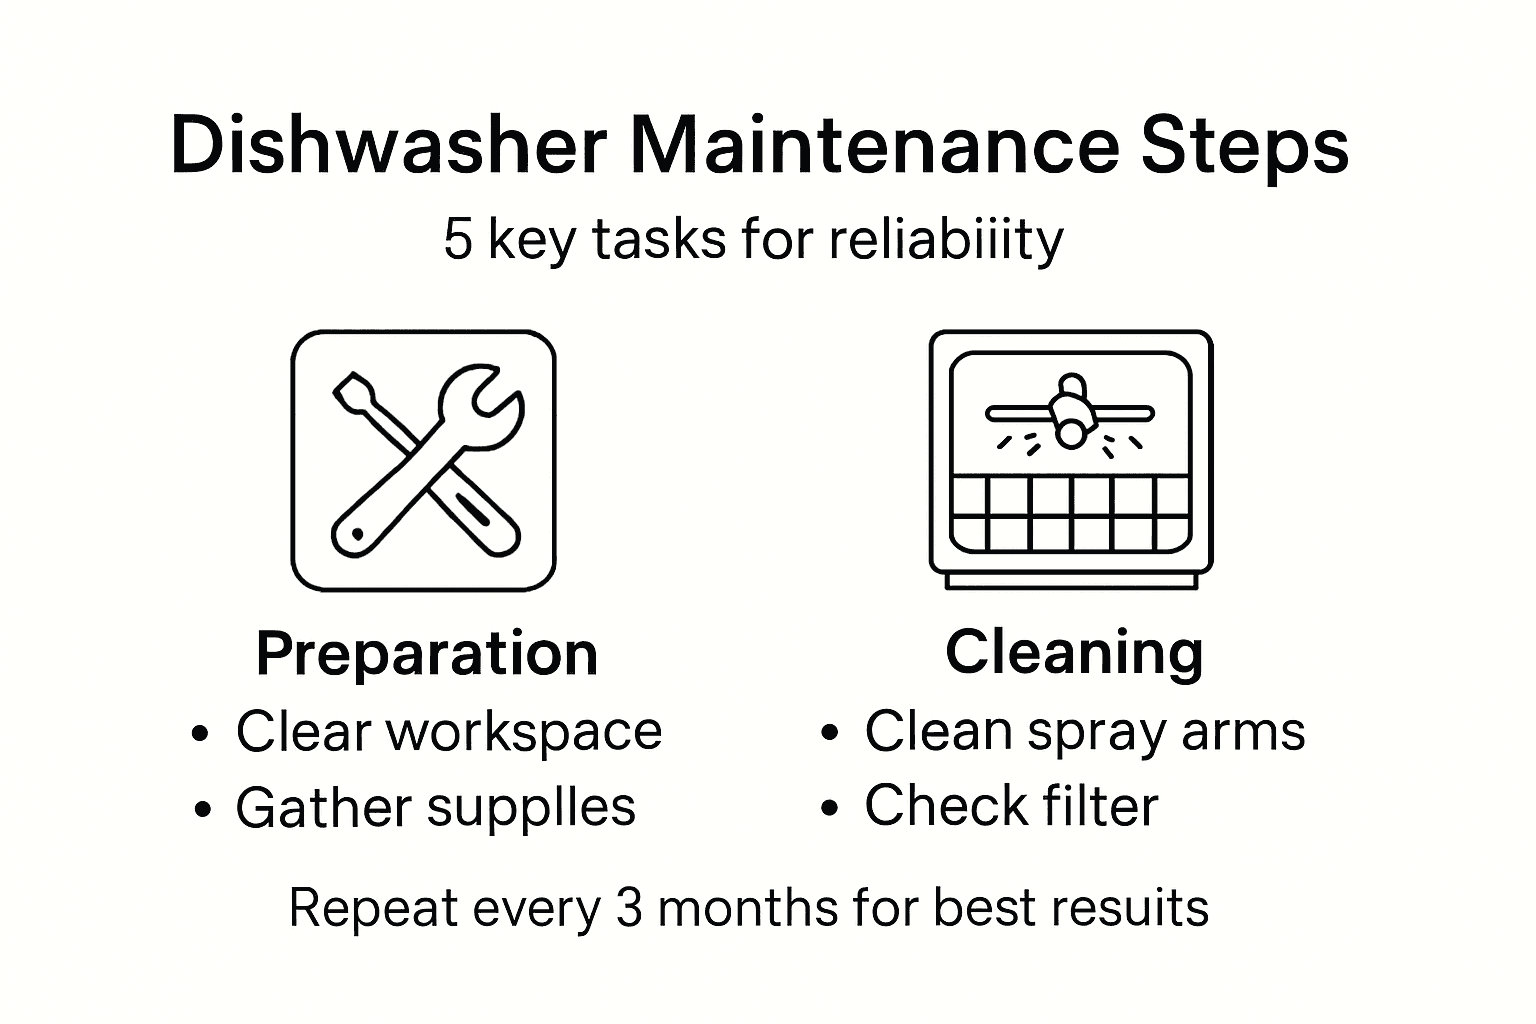
- Step 1: Prepare The Workspace And Gather Cleaning Supplies
- Step 2: Inspect And Clean Spray Arms And Filters
- Step 3: Check And Clear Drain And Hose Connections
- Step 4: Wipe Down Seals, Racks, And Interior Surfaces
- Step 5: Run A Maintenance Cycle And Verify Dishwasher Operation
Quick Summary
| Key Takeaway | Explanation |
|---|---|
| 1. Create a Safe Cleaning Workspace | Prepare your dishwasher area by removing dishes, laying down a towel, and gathering essential cleaning supplies to ensure an organized process. |
| 2. Clean Spray Arms and Filters | Regularly inspect and clean spray arms and filters to ensure optimal water distribution and prevent blockages that can hinder performance. |
| 3. Inspect Drain and Hose Connections | Check drain hoses for blockages and maintain proper installation to prevent water backup, ensuring efficient appliance operation. |
| 4. Sanitize the Interior and Racks | Remove racks and clean the dishwasher’s interior surfaces and seals to eliminate odors and ensure hygiene, prolonging the appliance’s life. |
| 5. Run Regular Maintenance Cycles | Perform a maintenance cycle every three months with a specialized cleaner to maintain peak performance and avoid long-term issues. |
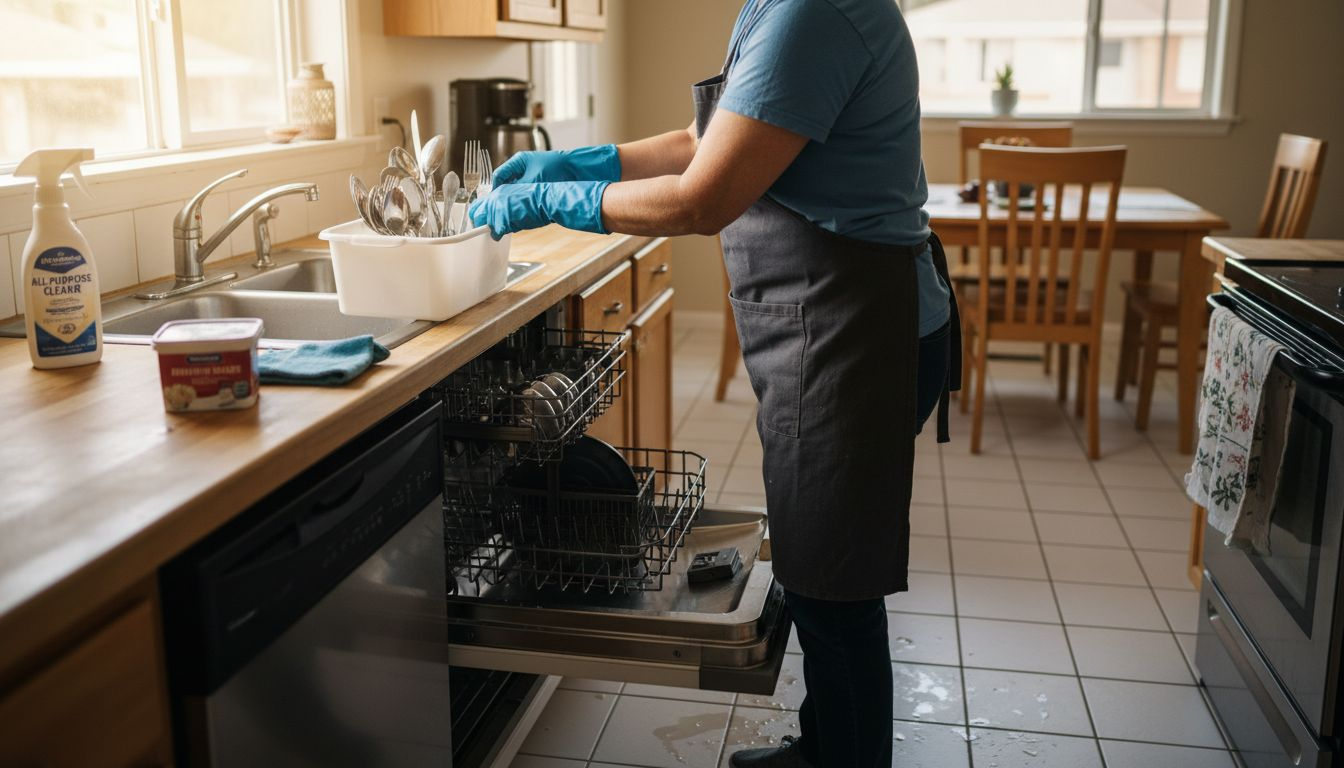
Step 1: Prepare the workspace and gather cleaning supplies
Before diving into dishwasher maintenance, you need a clean workspace and the right tools. Citric acid based cleaners work best for monthly deep cleaning, so gather those essential supplies first.
Start by creating a safe maintenance zone near your dishwasher. Remove all dishes and pull out the bottom and top racks completely. Lay down a clean towel to protect your floor and provide a stable surface for cleaning components. You will want soft microfiber cloths, non ammonia glass cleaner, stainless steel wipes, and a soft brush for detailed cleaning. Avoid harsh chemicals that could damage your appliance’s delicate surfaces.
Prepare to remove and inspect the dishwasher filter system carefully. This component traps food particles and debris, so cleaning it thoroughly prevents potential performance issues. Check the manufacturer’s manual for specific filter removal instructions specific to your model.
Use this quick-reference for effective dishwasher cleaning products and their best uses:
| Cleaning Product | Best Use | Avoid On |
|---|---|---|
| Citric acid cleaner | Monthly deep clean | Painted surfaces |
| Microfiber cloth | General wipe-down | None—safe everywhere |
| Stainless steel wipes | Exterior panel shine | Plastic parts |
| Non ammonia glass cleaner | Control panel, door window | Stainless steel surfaces |
Pro tip: Always wear kitchen gloves to protect your hands from cleaning chemicals and potential sharp edges when disassembling dishwasher components.
Step 2: Inspect and clean spray arms and filters
Now that your workspace is ready, it is time to focus on the critical components that ensure your dishwasher runs smoothly. Spray arms distribute water throughout the machine, making them essential for effective cleaning. You will want to carefully remove these components and inspect them for any blockages or debris.
Start by gently pulling out the spray arms. Most models have simple release mechanisms located near the bottom or top rack. Use a soft brush and warm water to clear any mineral deposits or food particles blocking the water ports. Pay special attention to each tiny hole where water streams out. A toothpick or small needle can help clear stubborn blockages without damaging the delicate spray arm surface.
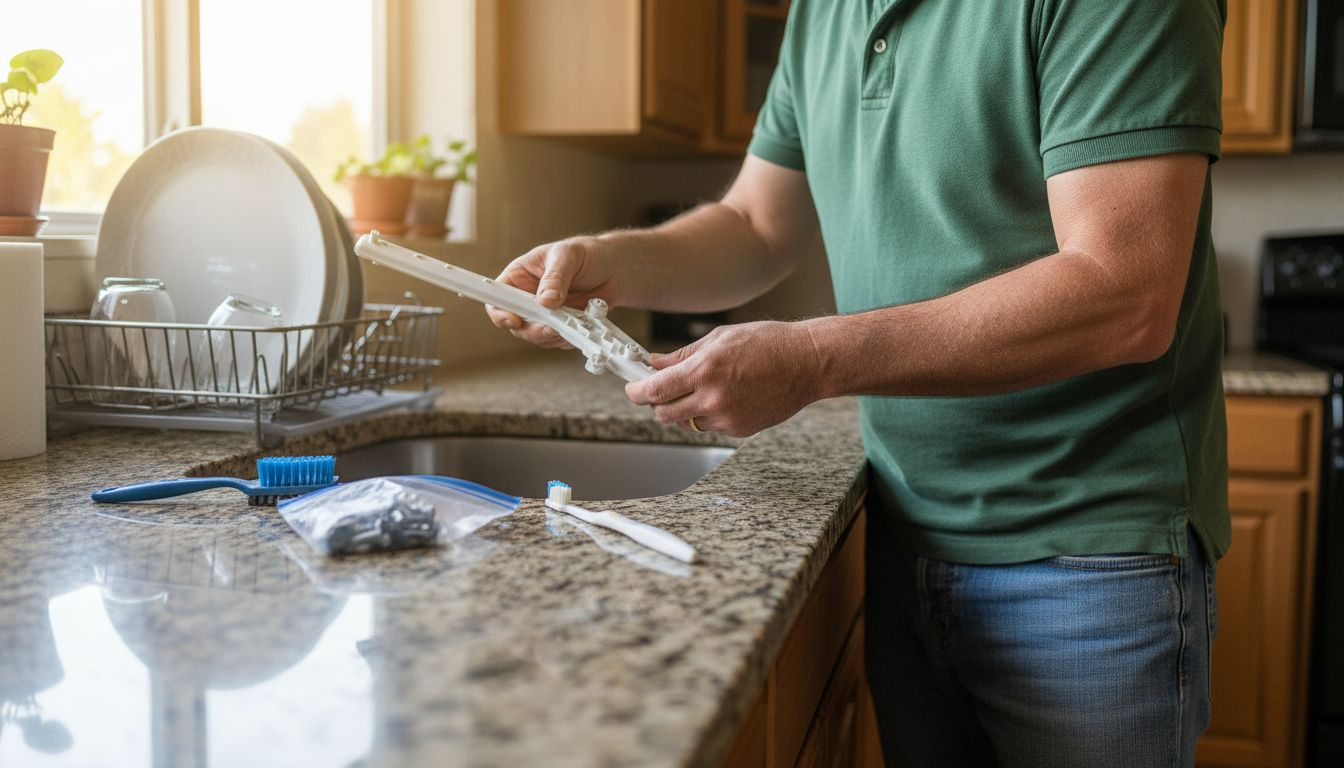
Next, locate and remove the filter system. Newer dishwashers typically have manual clean filters that trap food scraps and prevent larger debris from circulating. Carefully rinse the filter under running water, using your soft brush to remove any trapped particles. Some filters can be disassembled into multiple pieces for thorough cleaning, so consult your dishwasher’s manual for specific instructions.
Pro tip: Work over a sink or towel to catch any water or debris that might fall during the cleaning process.
Step 3: Check and clear drain and hose connections
With your spray arms and filters cleaned, it is time to focus on the critical drainage system that keeps your dishwasher functioning smoothly. Dishwasher drainage systems require careful inspection to prevent potential water backup and ensure efficient operation.
Start by locating the drain hose connection at the back of your dishwasher. Carefully disconnect the hose and inspect it for any visible blockages, kinks, or accumulated debris. Use a flexible brush or a long pipe cleaner to gently remove any buildup inside the hose. Pay special attention to the connection points where debris tends to accumulate. If you notice any significant buildup or damage, consider replacing the hose to maintain optimal drainage performance.
Next, check the drain connection for proper configuration. Local building codes often require a high loop or air gap installation to prevent wastewater from flowing back into the dishwasher. Ensure the hose creates a significant upward curve before connecting to the sink drain or garbage disposal. This prevents contamination and helps maintain a hygienic drainage system.
Pro tip: Keep a small bucket or towel nearby to catch any water that might drain out during the hose inspection process.
Step 4: Wipe down seals, racks, and interior surfaces
With the mechanical components cleaned, it is time to focus on sanitizing the dishwasher’s interior spaces. Cleaning and sanitizing surfaces requires a methodical approach to remove grime, prevent odors, and maintain overall appliance hygiene.
Start by removing the racks completely. Inspect them for any calcium buildup or rust spots, and wipe them down thoroughly with a soft cloth and mild detergent. Pay special attention to the rubber seals around the dishwasher door, as these areas tend to collect food particles and develop mildew. Use a soft cloth with a non abrasive cleaner to gently clean these surfaces, ensuring you reach all the crevices where grime can accumulate.
For the interior walls and bottom of the dishwasher, use a soft sponge or microfiber cloth with a gentle cleaning solution. Work from top to bottom to prevent dripping and ensure complete coverage. Focus on removing any visible stains or discoloration, which can indicate mineral deposits or food residue. Take extra care around electrical components and avoid saturating any sensitive areas.
Pro tip: Use white vinegar on a cloth to naturally disinfect and remove stubborn water stains without harsh chemicals.
Step 5: Run a maintenance cycle and verify dishwasher operation
With all components cleaned, it is time to run a comprehensive maintenance cycle that will help reset and verify your dishwasher’s overall performance. Dishwasher maintenance cycles are designed to sanitize and ensure optimal cleaning capabilities.
Select the hottest water temperature setting and choose a maintenance or cleaning cycle specifically designed for appliance deep cleaning. Add a specialized dishwasher cleaner or descaling solution to help remove lime scale and hidden residues. During the cycle, listen carefully for consistent water spray patterns, watch for proper water circulation, and monitor drainage performance. These subtle indicators can reveal potential issues with your appliance’s internal systems.
After the maintenance cycle completes, open the dishwasher and carefully inspect the interior. Check that all surfaces are clean and free from water spots or remaining debris. Test the door seal for proper closure, verify that spray arms rotate freely, and confirm that no unusual sounds occurred during the cycle. A successful maintenance run means your dishwasher is ready to handle regular washing tasks with maximum efficiency.
Pro tip: Run a maintenance cycle every three months to keep your dishwasher operating at peak performance and prevent potential long term issues.
Here’s a summary of which dishwasher component each maintenance step targets and the main benefit:
| Step | Component Focus | Primary Benefit |
|---|---|---|
| 1 | Workspace & Filter Prep | Safe, organized cleaning |
| 2 | Spray Arms & Filters | Improved washing power |
| 3 | Drain & Hose | Prevents water backup |
| 4 | Seals, Racks, Interior | Reduces odors, extends life |
| 5 | Full System | Maintains peak performance |
Keep Your Dishwasher Running Smoothly with Expert Help
Regular dishwasher maintenance can be a challenge, especially when dealing with clogged spray arms, dirty filters, or drainage problems. If you want to avoid unexpected breakdowns and foul odors, ensuring every part from the seals to the drain hose is clean and functional is key. This article outlined important steps like deep cleaning with citric acid cleaners, inspecting spray arms, and running maintenance cycles to maintain reliable performance.

If these tasks seem overwhelming or your dishwasher is showing signs of malfunction despite your efforts, don’t wait for the problem to worsen. Our experienced team at Expert Appliance Repair offers fast and trustworthy appliance services in Marlboro and Monmouth County, NJ. We specialize in dishwasher repair and maintenance backed by same-day service and 24/7 emergency support. Take control of your appliance’s health and enjoy peace of mind. Visit our Appliance Archives to explore more expert tips or schedule your service today at Expert Appliance Repair. Your reliable dishwasher deserves professional care to keep running efficiently.
Frequently Asked Questions
How often should I perform dishwasher maintenance?
Perform dishwasher maintenance every three months to ensure reliable performance. Regular cleaning helps prevent odors, buildup, and efficiency issues, keeping your appliance in great shape.
What cleaning supplies do I need for dishwasher maintenance?
You will need citric acid-based cleaners, microfiber cloths, non-ammonia glass cleaner, stainless steel wipes, and a soft brush. Gather these supplies to efficiently clean your dishwasher’s components during maintenance.
How do I clean the dishwasher spray arms?
To clean the spray arms, gently remove them from the dishwasher and inspect for blockages. Use a soft brush and warm water to scrub off any mineral deposits, and clear the water ports with a toothpick if necessary.
What should I check when inspecting the dishwasher drain hose?
When inspecting the drain hose, look for blockages, kinks, or debris accumulation. Disconnect the hose, then use a flexible brush to clean out any buildup inside, ensuring optimal drainage performance.
How do I maintain the dishwasher’s interior surfaces?
To maintain the interior surfaces, remove the racks and wipe them down with a mild detergent and soft cloth. Clean the door seals and walls with a non-abrasive cleaner, focusing on removing grime and preventing odors.
How can I verify that my dishwasher is working properly after maintenance?
Run a maintenance cycle using the hottest water setting to refresh the dishwasher. After the cycle, inspect the interior for cleanliness, ensure proper door seal closure, and confirm that spray arms rotate freely.