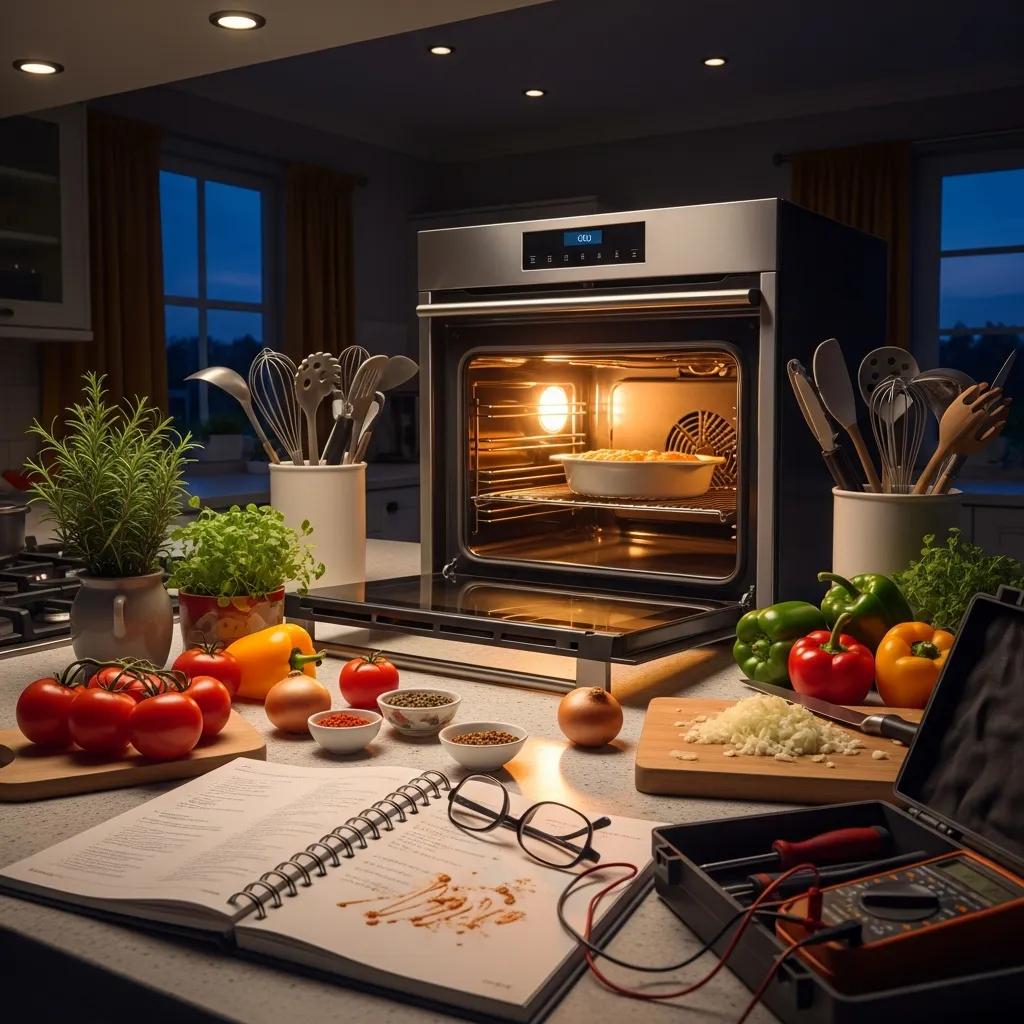
Oven Not Heating Up? Comprehensive Troubleshooting and Repair Guide
Experiencing an oven that refuses to heat can be frustrating, especially when you’re eager to prepare a meal. This comprehensive guide will help you understand the common causes of oven heating issues and provide step-by-step troubleshooting methods. By the end of this article, you’ll be equipped with the knowledge to diagnose and potentially repair your oven, or know when to call in a professional. We will explore the various components that can fail, the tools needed for troubleshooting, and the best DIY repair methods. Additionally, we will discuss preventive maintenance tips and the typical costs associated with oven repairs.
Why Is My Oven Not Heating Up? Common Causes Explained
When your oven isn’t heating, it can stem from several common issues. Understanding these causes is the first step in troubleshooting the problem effectively.
What Power Supply Issues Can Prevent Oven Heating?
Power supply issues are often the primary reason an oven fails to heat. Common problems include:
- Tripped Circuit Breaker: If the circuit breaker has tripped, it can cut off power to the oven. Check your electrical panel and reset any tripped breakers.
- Faulty Power Cord: Inspect the power cord for any visible damage or wear. A damaged cord can prevent the oven from receiving power.
- Blown Fuses: In some cases, a blown fuse can interrupt the power supply. Check the fuses and replace any that are blown.
Addressing these power supply issues can often resolve heating problems quickly.
How Do Heating Components Affect Electric and Gas Ovens?
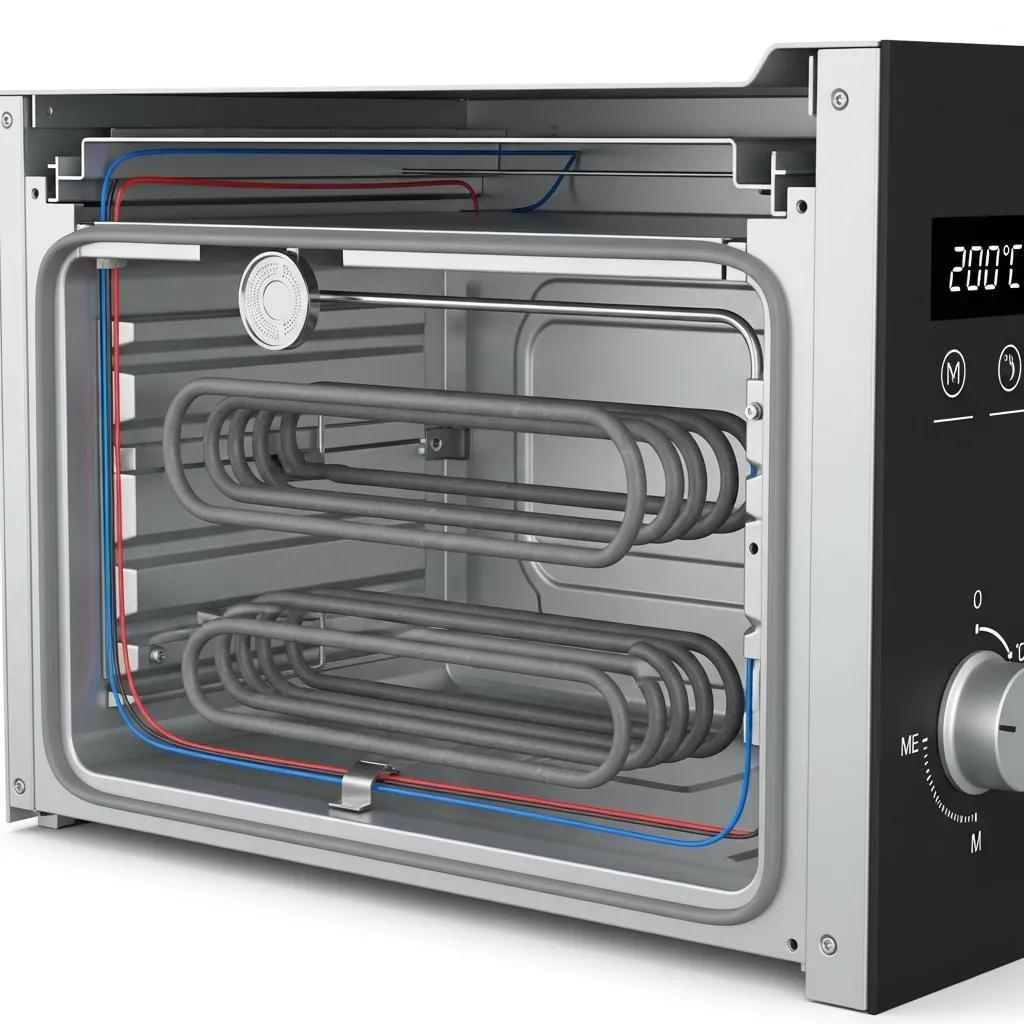
Heating components play a crucial role in the functionality of both electric and gas ovens. Key components include:
- Heating Elements: In electric ovens, the heating elements are responsible for generating heat. If they are damaged or burnt out, the oven will not heat.
- Gas Igniters: For gas ovens, the igniter is essential for lighting the gas. A faulty igniter can prevent the oven from heating up.
- Temperature Sensors: These sensors monitor the oven’s internal temperature. If they malfunction, they may not signal the heating elements to activate or may cause the oven to shut off prematurely.
Understanding how these components work can help you identify which part may be causing the heating issue.
How to Diagnose Oven Heating Problems: Step-by-Step Troubleshooting
Diagnosing oven heating problems requires a systematic approach. Follow these steps to identify the issue effectively.
A structured approach to appliance repair, including understanding basic electricity and tools, is fundamental for effective troubleshooting.
Appliance Repair Curriculum: Basic Electricity & Tools
Designed for use by instructors of appliance repair to help establish a uniform curriculum, this manual presents a basic course of study. Individual instructors can add or delete jobs or lessons to suit their particular teaching situations. Contents include the course philosophy, listing of course objectives and activities to achieve them, plan of instructional practice, listing of appliance repair reference materials, bibliography, listing of resources for visual aids, and course outline. These seven units are included: orientation, basic electricity, basic shop tools, laundry equipment, kitchen equipment, and refrigeration. Job sheets, operation sheets, information sheets, and assignment sheets are provided. Job sheets (student practice in developing skill competencies) define materials and tools needed, competence procedures/steps cross-indexed to related operation sheet(s), and method of evaluation. Operation sheets, supplementing job sheets and indicating how to perform skill com
Trade and Industrial Education Course of Study for Appliance Repair., 1980
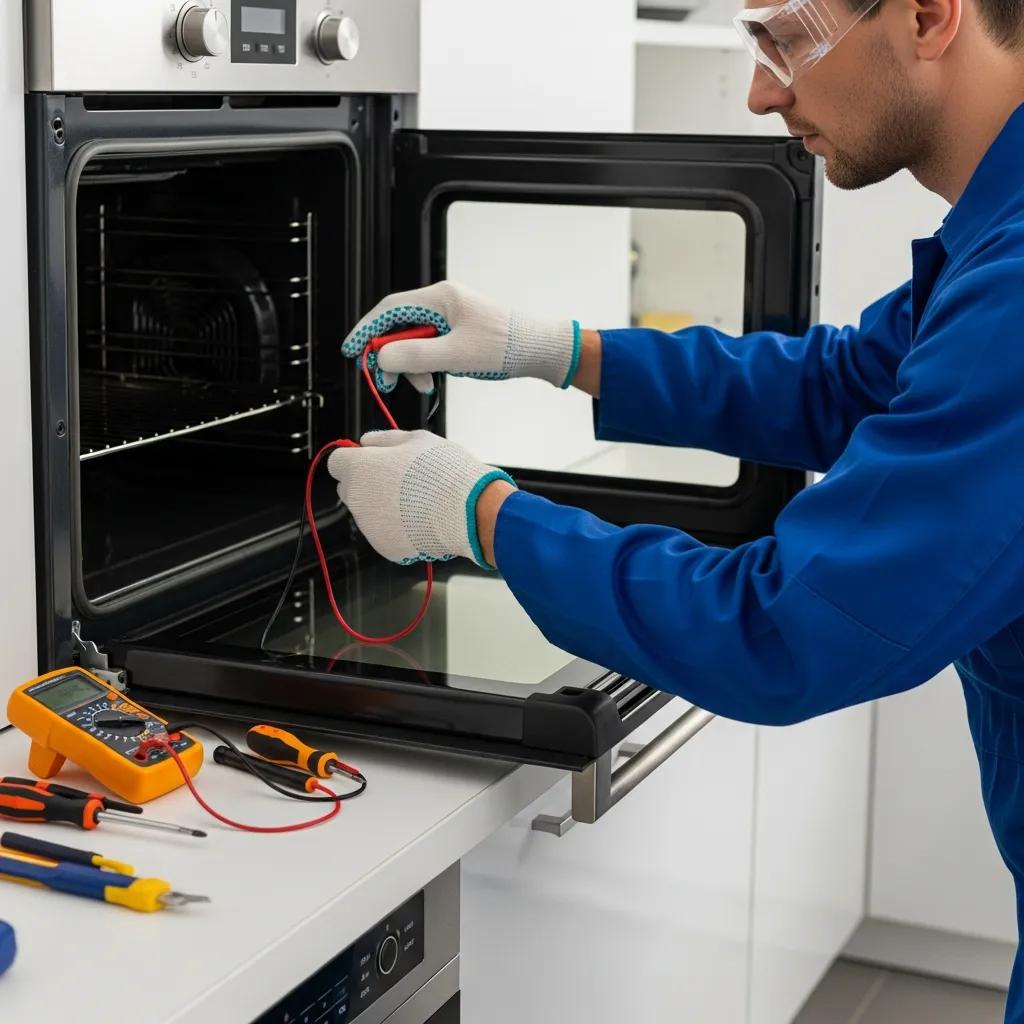
Which Tools Are Needed for Oven Troubleshooting?
To troubleshoot your oven, you will need a few essential tools:
- Multimeter: This tool is crucial for testing electrical components and checking for continuity.
- Screwdrivers: A set of screwdrivers will help you access the internal components of the oven.
- Safety Gear: Always wear safety gloves and goggles to protect yourself while working on electrical appliances.
A reliable multimeter is indispensable for accurate diagnostics, offering features that streamline the troubleshooting process.
Essential Multimeter Features for Appliance Troubleshooting
A good electricians multimeter is an absolute pleasure to work with (not to mention a huge time saver). Automatic AC/DC voltage selection, precise readings, a nice long battery life, a high safety rating, and a durable casing.
Best Multimeter for Electricians: Top 6 of 2025, 2025
Having the right tools on hand will make the troubleshooting process smoother and safer.
How to Test Key Oven Components for Faults?
Testing the key components of your oven involves the following steps:
- Testing Heating Elements: Use a multimeter to check for continuity in the heating elements. If there is no continuity, the element needs replacement.
- Checking Igniter Functionality: For gas ovens, observe the igniter when the oven is turned on. If it does not glow or spark, it may need to be replaced.
- Verifying Temperature Sensor Accuracy: Test the temperature sensor with a multimeter to ensure it is functioning correctly. A faulty sensor can lead to inaccurate temperature readings or cause the oven to shut off prematurely.
By systematically testing these components, you can pinpoint the source of the heating issue.
What Are the Best DIY Repair Methods for Oven Heating Issues?
If you’ve identified the problem, several DIY repair methods can help you restore your oven’s functionality.
How to Replace an Electric Oven Heating Element Safely
Replacing an electric oven heating element involves the following steps:
- Safety First: Disconnect the oven from the power supply to avoid electrical shock.
- Remove the Old Element: Unscrew the old heating element from the oven and disconnect the wires.
- Install the New Element: Connect the new heating element and secure it in place with screws.
How to Clean or Replace a Gas Oven Igniter Effectively
Cleaning or replacing a gas oven igniter can be done by following these steps:
- Turn Off the Gas Supply: Ensure the gas supply is turned off before starting any work.
- Access the Igniter: Remove the oven’s bottom panel to access the igniter.
- Clean or Replace: If the igniter is dirty, clean it gently with a soft cloth. If it is faulty or cracked, replace it with a new one.
Regular maintenance of the igniter can prevent future heating issues.
When Should You Call a Professional for Oven Repair?
While many oven issues can be resolved through DIY methods, some situations require professional intervention.
What Are the Safety Precautions for Oven Repairs?
When attempting repairs, always prioritize safety by following these precautions:
- Disconnect Power: Always unplug the oven or turn off the circuit breaker before starting repairs.
- Use Protective Gear: Wear gloves and goggles to protect against sharp edges and electrical components.
- Work in a Well-Ventilated Area: Ensure proper ventilation, especially when working with gas ovens.
These precautions can help prevent accidents during repairs.
Which Oven Problems Require Expert Service?
Certain problems are best left to professionals, including:
- Electrical Issues: Complex electrical problems may require specialized knowledge and tools.
- Gas Leaks: If you suspect a gas leak, evacuate the area and call a professional immediately.
- Control Board Failures: Issues with the control board can be intricate and require expert diagnosis.
Recognizing when to seek professional help can save you time and ensure safety.
How Can You Prevent Oven Heating Problems with Regular Maintenance?
Preventive maintenance is key to avoiding future heating issues with your oven.
What Maintenance Tips Extend Oven Heating Performance?
To maintain optimal oven performance, consider these maintenance tips:
- Regular Cleaning: Keep the oven clean to prevent buildup that can affect heating efficiency.
- Inspect Seals: Check the door seals for wear and replace them if necessary to maintain heat.
- Test Components: Periodically test heating elements and sensors to ensure they are functioning correctly.
Implementing these tips can help extend the life of your oven and prevent heating problems.
How Often Should You Inspect Oven Components to Avoid Failures?
Regular inspections can help catch potential issues before they become serious. Consider the following schedule:
- Monthly Checks: Inspect the oven’s exterior and interior for any signs of wear or damage.
- Annual Professional Inspections: Schedule a professional inspection at least once a year to ensure all components are functioning properly.
- Signs of Wear: Be vigilant for any unusual noises or performance issues, which may indicate a need for inspection.
By adhering to this maintenance schedule, you can significantly reduce the likelihood of heating failures.
What Are the Typical Costs and Timeframes for Oven Heating Repairs?
Understanding the costs and timeframes associated with oven repairs can help you plan accordingly.
How Much Does It Cost to Repair Common Oven Heating Issues?
Repair costs can vary based on the issue, brand, and location. Typical costs in the U.S. include:
- Heating Element Replacement: $100 – $250
- Gas Igniter Replacement: $100 – $200
- Temperature Sensor Replacement: $50 – $150
These estimates can help you budget for necessary repairs.
What Is the Estimated Duration for DIY vs. Professional Oven Repairs?
The time required for repairs can differ significantly between DIY and professional services:
- DIY Repairs: Most simple repairs can be completed in 30 minutes to 2 hours, depending on your skill level.
- Professional Repairs: Hiring a technician may take 1-3 hours, including diagnosis and repair.
Understanding these timeframes can help you plan your cooking schedule accordingly.
| Repair Type | Estimated Cost | Estimated Time |
|---|---|---|
| Heating Element Replacement | $100 – $250 | 30 minutes – 2 hours |
| Gas Igniter Replacement | $100 – $200 | 30 minutes – 2 hours |
| Temperature Sensor Replacement | $50 – $150 | 30 minutes – 2 hours |
| Professional Service | $150 – $300+ | 1-3 hours |
This table summarizes the costs and timeframes associated with common oven repairs, helping you make informed decisions about your oven maintenance and repair needs.